Key points
- A concealed hinge sits in a 35 mm cup bored into the back of the door.
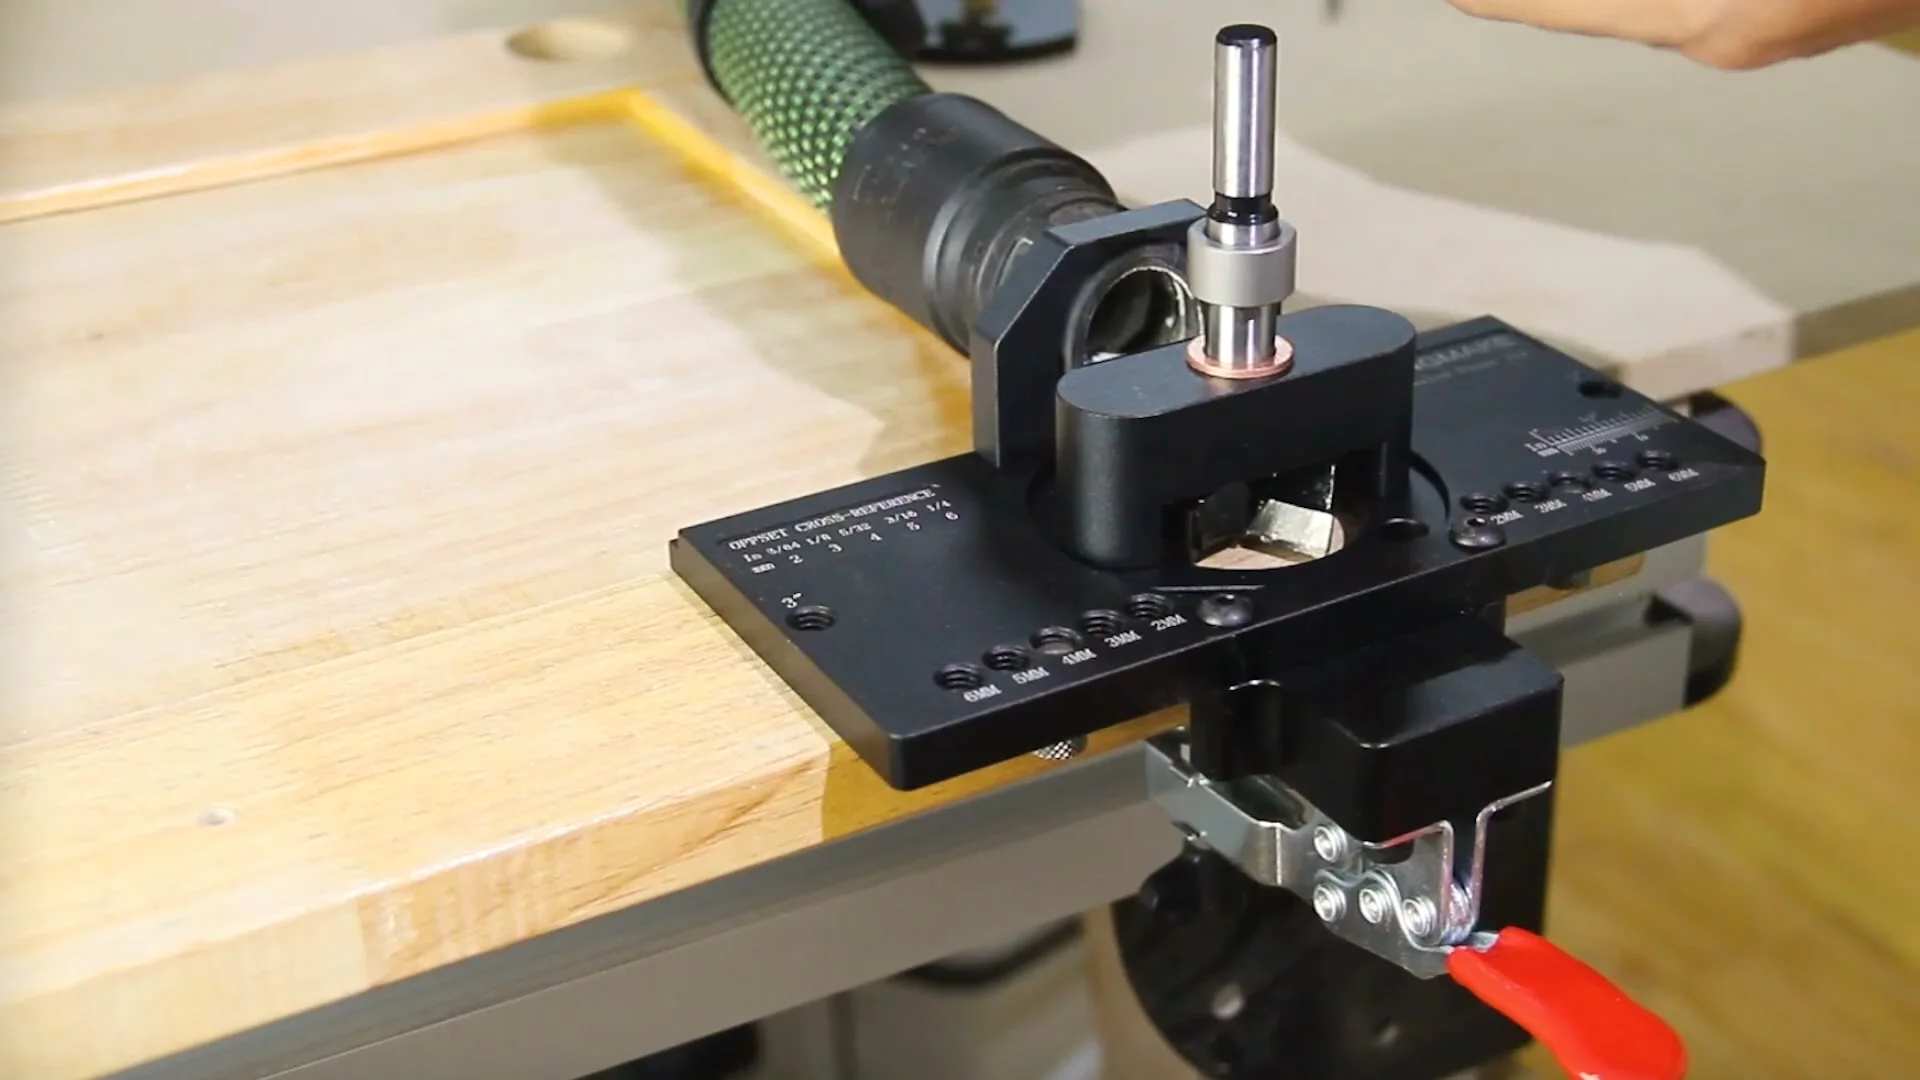
- The offset places the cup a fixed distance in from the door edge: 2 to 6 mm on our Concealed Hinge Jig and 3-Axis jig, 3 to 6 mm on the Compact.
- Screw holes follow the hinge, and our jigs guide the spacings 42 x 11, 45 x 9.5, 48 x 6 and 52 x 5.5 mm.
- The Cabinet Door Mounting Jig holds a door at height against the cabinet while you drive the screws.
- OSHA asks for a hold-down instead of hands when drilling, secured work and eye protection when routing, and dust collected at its source.
How a cup hinge sits in the door
A European hinge has two halves. The cup half drops into a round pocket bored in the back of the door, and the arm reaches across to a mounting plate screwed to the cabinet. Our hinge jigs are built for hinges with a 35 mm cup, so one bit and one jig serve every door in the kitchen.
Two figures decide where that cup goes. The overlay is how far the closed door covers the cabinet front. A full-overlay door covers the edge of the cabinet side, a half-overlay door shares it with a neighbor, and an inset door sits inside the opening. The offset is the distance from the door edge to the cup. The hinge maker prints both on its chart, and the two have to be read together for the hinge in your hand.
Read that chart before you touch the jig. Our hinge jigs set the offset in whole millimeters, so the setting on the jig is the figure on the chart. Get it right on one test door, and every door in the run follows from the same setting.
Depth, offset and screw holes on our three jigs
All three GOINGMAKE hinge jigs bore the cup with a 35 mm carbide-tipped bit running in double bearings. Where they differ is in the offsets they set, the screw-hole spacings they guide, how thick a door they clamp and the hose they take for dust.
| Jig | Hinge offset | Screw-hole spacings | Clamping | Dust |
|---|---|---|---|---|
| Concealed Hinge Jig | 2, 3, 4, 5 and 6 mm | 42 x 11, 48 x 6, 52 x 5.5 and 45 x 9.5 mm, 5/64 in guides | Quick clamp | Port for a 1-3/8 in hose |
| Compact Concealed Hinge Jig | 3, 4, 5 and 6 mm | 45 x 9.5, 48 x 6 and 52 x 5.5 mm, 1/16 in bit included | Metal quick clamp | 35 mm dust adapter |
| 3-Axis Concealed Hinge Jig Ultra | 2, 3, 4, 5 and 6 mm | Separate fixed guide, the same 4 spacings | 1/2 to 1-1/4 in, extra block for thicker doors | Adapter for 1-1/4 and 1-3/8 in hoses |
On the Concealed Hinge Jig the cup depth is preset from 0 to 0.6 in, so you set it once and drill without measuring each door. The 3-Axis jig clamps doors from 1/2 to 1-1/4 in thick, and its extra block takes thicker boards up to 1-13/16 in. The Compact Concealed Hinge Jig suits a few doors at a time and is easy to store and carry.
Boring the cup
Clamp first, drill second. OSHA's woodworking eTool for handheld drills names poor judgment as one of the most common causes of drill accidents. The operator holds the stock by hand, the bit catches as it enters, and the stock twists into an uncontrolled rotating piece. The eTool says a hold-down fixture should be used rather than the hands whenever possible.
A 35 mm cutter takes a wide bite, so that advice carries extra weight here. Clamp the door flat to the bench, set the jig on its edge and close its quick clamp. Only then bring the drill to the bushing. The same eTool notes that the rotating bit is rarely guarded and throws hot chips, so keep your face out of line with the bit and wear eye protection.
Drill until the bit reaches the preset depth, lift out, and blow the chips from the cup before you test the hinge. When the cutter dulls, our 35 mm replacement hinge bits come two to a pack and fit the GOINGMAKE hinge jigs, a hand drill or a drill press.
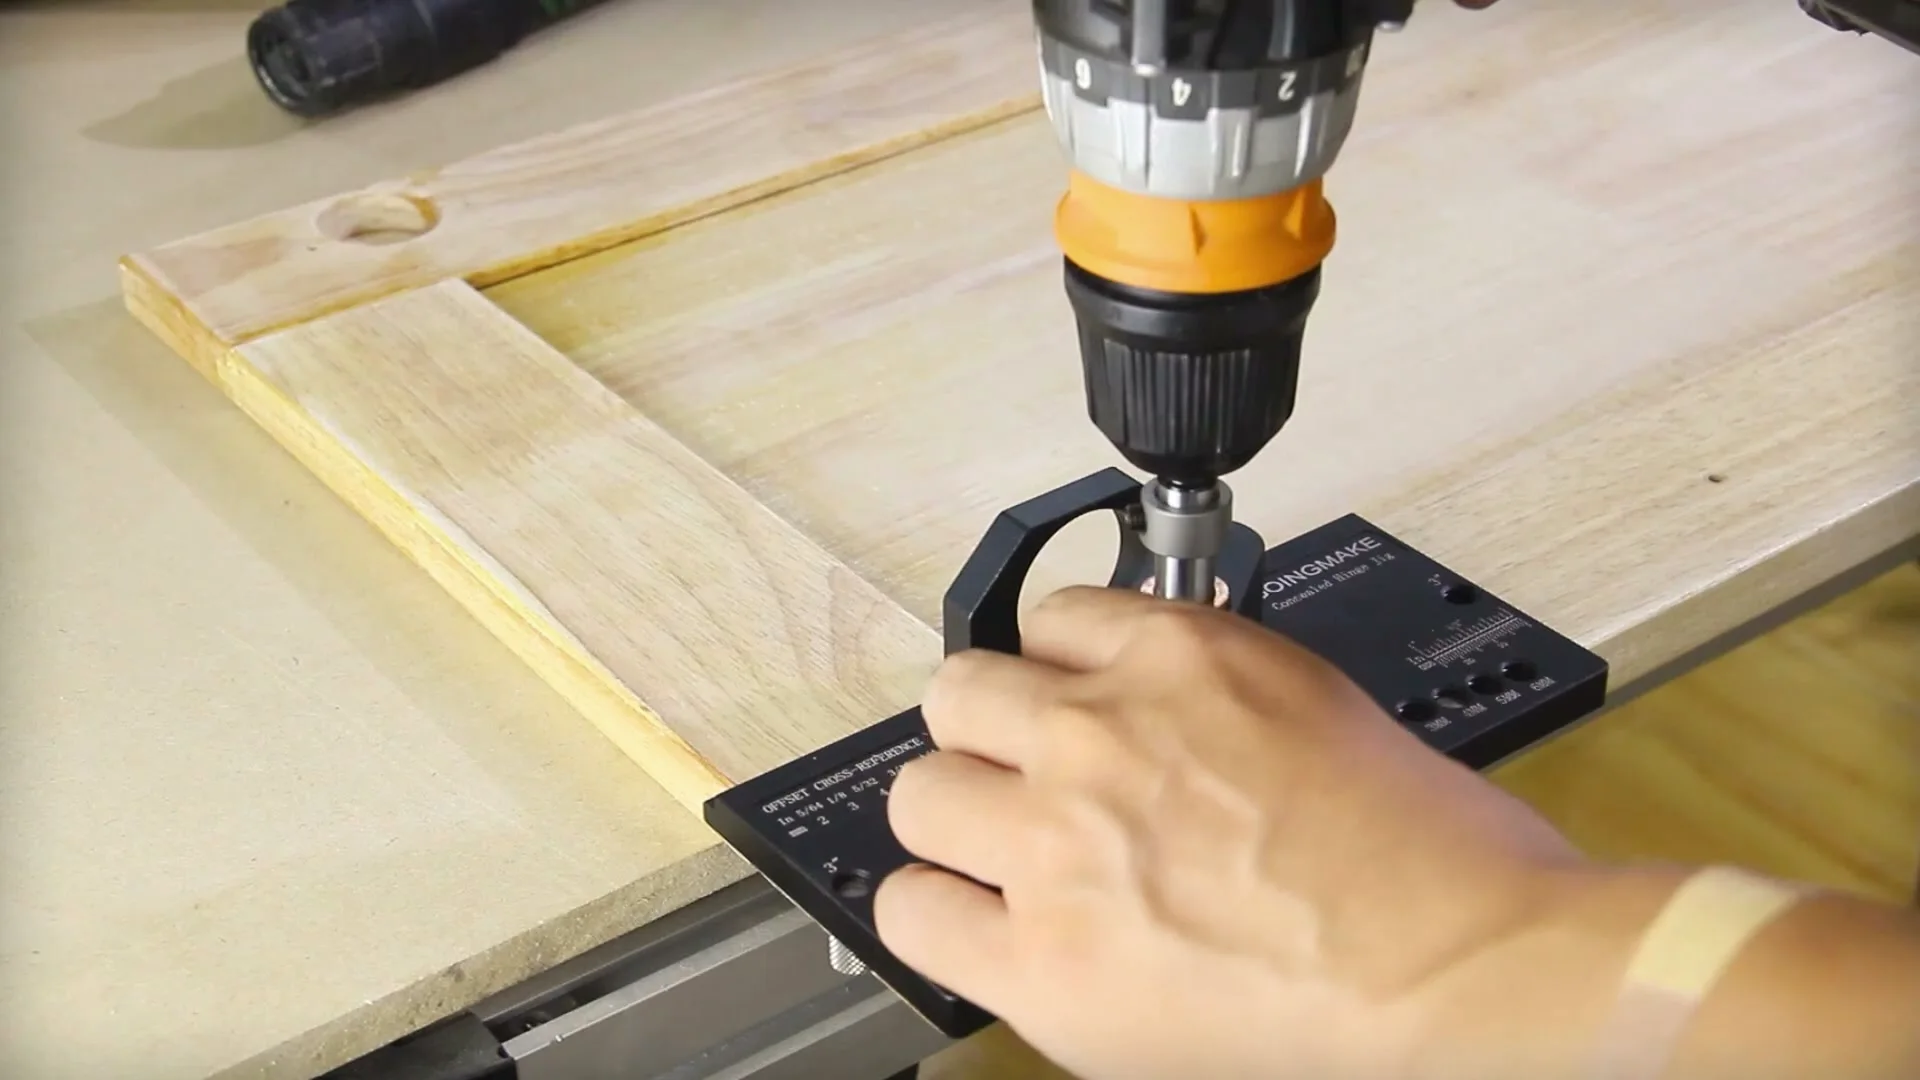
Cups and screw holes in one setup
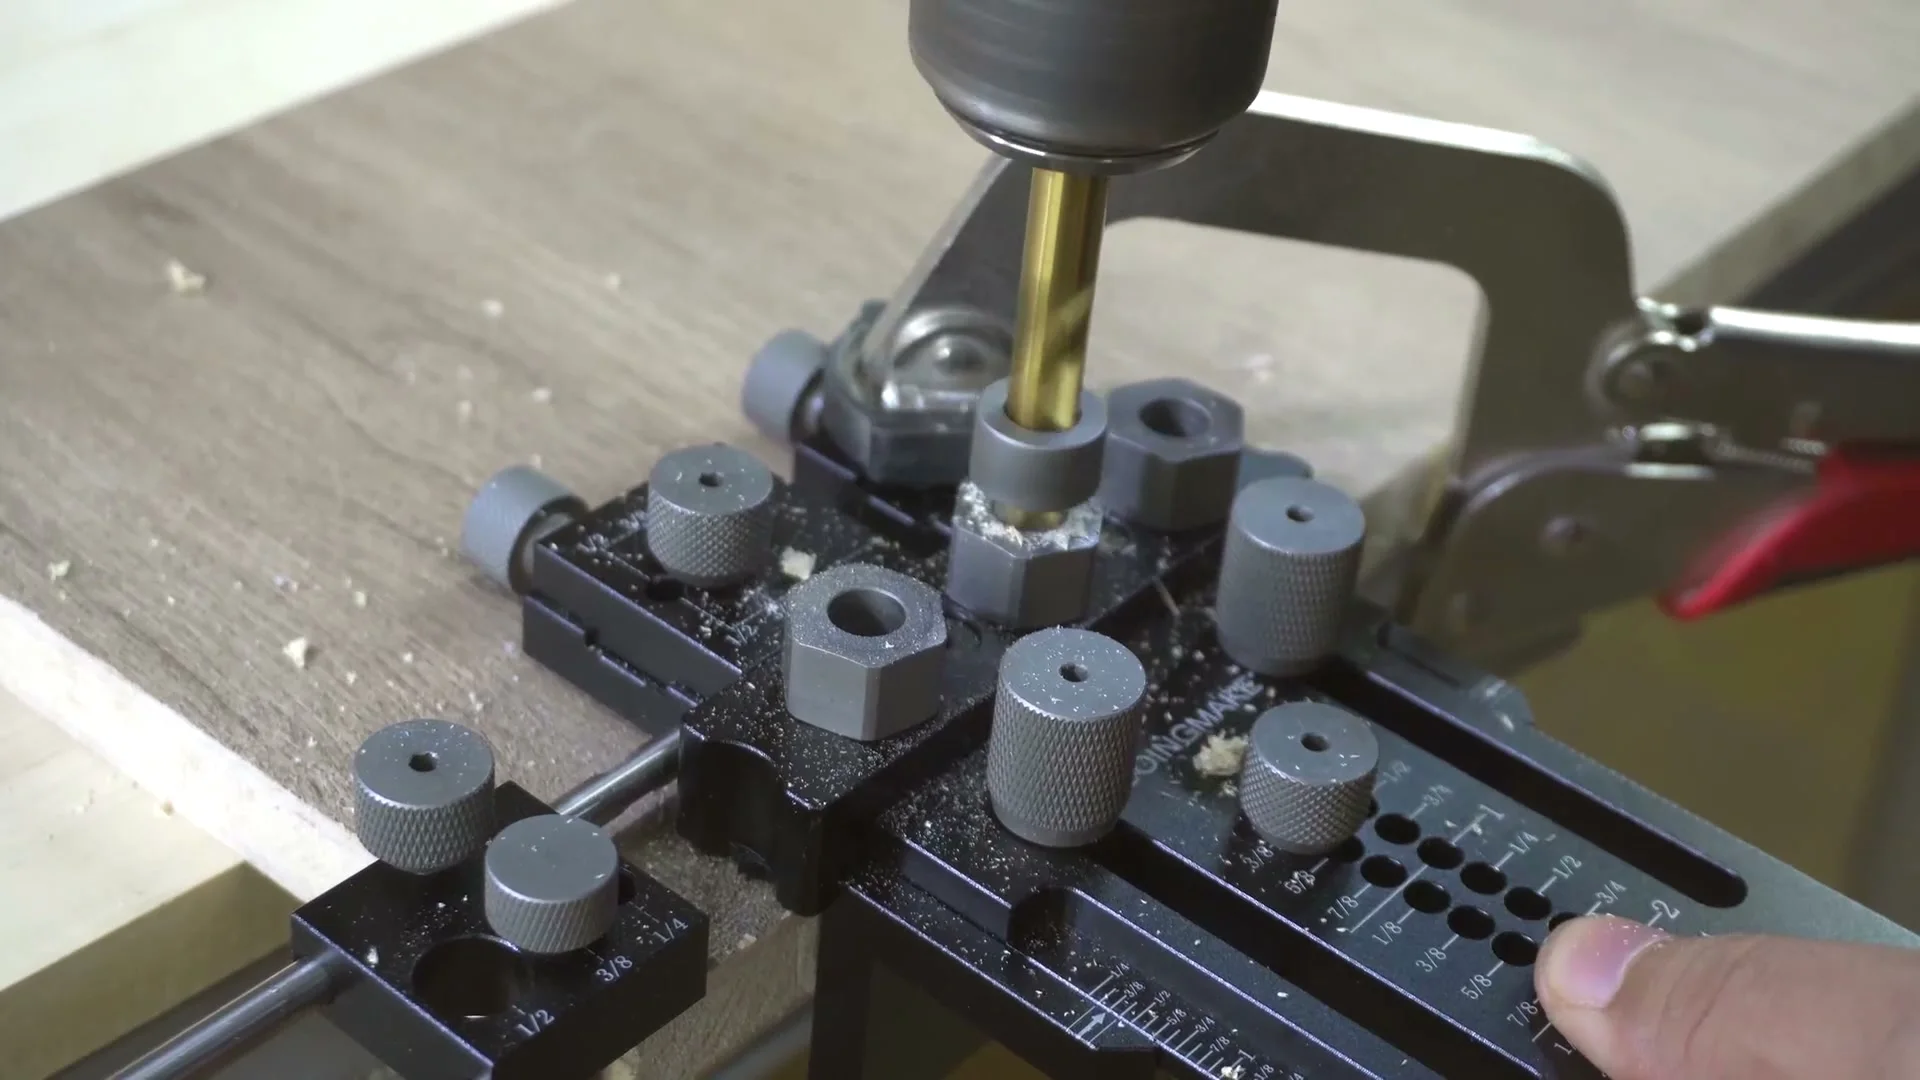
On most jigs the screw holes come second: you swap the 35 mm bit for a small one and drill again through the same guide. The 3-Axis Concealed Hinge Jig Ultra splits the two jobs. The cup goes through its 3-axis drill guide, and the screw holes go through a separate fixed guide set to one of four spacings.
That split pays off on a full kitchen. You can keep one drill on the cup and a second on the screw holes, and each door takes one clamping. Choose the spacing that matches the screw pattern of your hinge, and the screws land in the holes without the hinge being nudged out of square.
Hanging the door level with the mounting jig
With cups bored and hinges screwed on, the door still has to meet the cabinet at the right height. Holding a door in place with one hand and driving screws with the other is how a row of doors ends up stepped. The Cabinet Door Mounting Jig does the holding.
It clamps to the cabinet from 3/8 to 2-15/16 in thick, with rubber pads against the finish. It works on framed and frameless cabinets and on left-hand and right-hand doors. The positioner slides up and down over a range of 0 to 2.5 in, and a removable edge pin sets full-overlay doors against the cabinet edge without measuring.
Set the height on the first door and leave it. Every other door in the run then sits on the same setting, so the bottom edges line up from one end of the wall to the other.

Entry and interior doors: routing a hinge mortise
Room doors hang on butt hinges set into a shallow mortise in the door edge. The Door Hinge Mortise Jig is a router template for that mortise. It sets hinge lengths from 2-1/2 to 5 in, takes round-cornered hinges with a 1/4 or 5/8 in radius, and fits doors up to 1-3/4 in thick. Square-cornered hinges need a chisel to finish the corners.
A depth gauge covers thick hinges at 4-1/2 and 5 in and thin ones from 2-1/2 to 4 in. The kit includes a router bit, a self-centering bit for the hinge screw holes and a double-ended screwdriver bit, and a one-hand clamp with two guide rods holds the jig to the door.
OSHA's woodworking eTool for handheld routers advises using jigs or guards whenever possible. It names routing end grain as the most common router hazard, because the bit can grab the work and the operator loses control. It also says kickback can occur at slow router speeds, and it tells you to make sure the work piece is secure, collect the dust and always wear eye protection. The mortise runs along the long grain of the door edge, and the jig's clamp holds the template in place, so secure the door itself on its edge or flat on a bench.
Dust from cups and mortises
A run of hinge cups fills the jig with chips in minutes, and a router throws fine dust into the air. OSHA's woodworking eTool on wood dust links it to dermatitis, to allergic and nonallergic respiratory effects including asthma, and to cancer. Certain hardwoods, among them oak, mahogany, beech, walnut, birch, elm and ash, have been reported to cause nasal cancer in woodworkers, particularly at high exposures.
The eTool gives the OSHA limit for nuisance dust as 15 mg/m3 total and 5 mg/m3 respirable over an 8-hour time-weighted average, and the NIOSH recommended level as 1 mg/m3. It names local exhaust ventilation at the source as the primary control, and it lists sanders, shapers and routers among the tools that produce the most dust.
That is why our hinge jigs carry a dust port right at the bit. Hook a shop vacuum to the 1-3/8 in port of the Concealed Hinge Jig or to the 1-1/4 or 1-3/8 in adapter of the 3-Axis jig before the first cup. More drilling jigs with their own dust ports sit on our cabinet and joinery jigs shelf, and our guide to pocket holes, dowels and dog holes covers the rest of the carcass.
Each jig above is in the GOINGMAKE collection, with its price and box contents on its own page.